
我想使用com.google.android.材料. tabs.TabLayout组件与Android的新ViewPager实现androidx.viewpager2.widget.ViewPager2。然而,TabLayout提供的setupWellViewPager(…)方法仅支持旧的ViewPager实现。有没有一种方法可以轻松地将TabLayout绑定到ViewPager2组件?
您必须使用这个TabLayoutMediator模仿tabLayout. setupWellViewPager()并使用Tablayout设置ViewPager2。否则,您将不得不编写自己的适配器来结合双方。
它的代码在静态编程语言中看起来像这样
TabLayoutMediator(tabLayout, viewPager) { tab, position ->
  tab.text = tabTitles[position]
}.attach()
我在实现上com.google.android。材料:材料:1.2.0-alpha02',在不需要TabLayoutMediator的情况下执行以下操作。相反,我使用这里描述的方法将TabLayout与ViewPager2链接起来。我还在这里向github添加了一个工作示例。我想我已经将解决方案最小化为一个最小的工作示例。我将解释重要的部分。
首先,我们需要将TabLayout和ViewPager2添加到布局中。我已经将它们放在这里的LinearLayout和坐标布局中,但是你当然可以做任何你喜欢的事情。
<!-- activity_main.xml -->
<?xml version="1.0" encoding="utf-8"?>
<androidx.constraintlayout.widget.ConstraintLayout xmlns:android="http://schemas.android.com/apk/res/android"
    xmlns:app="http://schemas.android.com/apk/res-auto"
    xmlns:tools="http://schemas.android.com/tools"
    android:layout_width="match_parent"
    android:layout_height="match_parent"
    tools:context=".MainActivity">

    <androidx.coordinatorlayout.widget.CoordinatorLayout
        android:layout_width="match_parent"
        android:layout_height="match_parent">

        <LinearLayout
            android:orientation="vertical"
            android:layout_width="match_parent"
            android:layout_height="wrap_content">

            <com.google.android.material.tabs.TabLayout
                android:id="@+id/tabLayout"
                android:layout_width="match_parent"
                android:layout_height="wrap_content"/>
            <androidx.viewpager2.widget.ViewPager2
                android:id="@+id/pager"
                android:layout_width="match_parent"
                android:layout_height="wrap_content"/>

        </LinearLayout>

    </androidx.coordinatorlayout.widget.CoordinatorLayout>

</androidx.constraintlayout.widget.ConstraintLayout>
所以适配器负责为活动提供正确的片段。您必须扩展FragmentStateAdapter,我已经简单地完成了如下操作(它是一个私有类,因为它是在我的MainActivity.java中声明的):
    private class ViewStateAdapter extends FragmentStateAdapter {

        public ViewStateAdapter(@NonNull FragmentManager fragmentManager, @NonNull Lifecycle lifecycle) {
            super(fragmentManager, lifecycle);
        }

        @NonNull
        @Override
        public Fragment createFragment(int position) {
            // Hardcoded in this order, you'll want to use lists and make sure the titles match
            if (position == 0) {
                return new BarFragment();
            }
            return new FooFragment();
        }

        @Override
        public int getItemCount() {
            // Hardcoded, use lists
            return 2;
        }
    }
然后我可以将我自己的适配器连接到ViewPager,如下所示:
FragmentManager fm = getSupportFragmentManager();
ViewStateAdapter sa = new ViewStateAdapter(fm, getLifecycle());
final ViewPager2 pa = findViewById(R.id.pager);
pa.setAdapter(sa);
我已经将片段添加到我的viewpager中。(因为我在适配器中硬编码了Fragments,所以您应该使用列表和类似于“addFragment”方法之类的东西)
然后用
TabLayout tabLayout = findViewById(R.id.tabLayout);
tabLayout.addTab(tabLayout.newTab().setText("Bar"));
tabLayout.addTab(tabLayout.newTab().setText("Foo"));
我在我的TabLayout中添加了两个选项卡,显示标题,但还没有让我切换到片段。
tabLayout.addOnTabSelectedListener(new TabLayout.OnTabSelectedListener() {
            @Override
            public void onTabSelected(TabLayout.Tab tab) {
                pa.setCurrentItem(tab.getPosition());
            }

            @Override
            public void onTabUnselected(TabLayout.Tab tab) {

            }

            @Override
            public void onTabReselected(TabLayout.Tab tab) {

            }
        });
这应该很简单。用户单击选项卡,我在回调中获取位置,然后简单地将适配器的当前项设置为该位置。
最后,当用户滑动片段以将正确的选项卡项设置为选中时,我们会耦合回来
pa.registerOnPageChangeCallback(new ViewPager2.OnPageChangeCallback() {
    @Override
    public void onPageSelected(int position) {
        tabLayout.selectTab(tabLayout.getTabAt(position));
    }
});
这是更新的答案如何在Android中将TabLayout与ViewPager2一起使用
使用下面的依赖项
implementation 'com.google.android.material:material:1.1.0-alpha08'
implementation 'androidx.viewpager2:viewpager2:1.0.0-beta02'
样本代码
XML布局
<?xml version="1.0" encoding="utf-8"?>
<androidx.coordinatorlayout.widget.CoordinatorLayout
        xmlns:android="http://schemas.android.com/apk/res/android"
        xmlns:app="http://schemas.android.com/apk/res-auto"
        xmlns:tools="http://schemas.android.com/tools"
        android:layout_width="match_parent"
        android:layout_height="match_parent">

    <com.google.android.material.appbar.AppBarLayout
            android:layout_width="match_parent"
            android:layout_height="wrap_content"
            android:theme="@style/ThemeOverlay.AppCompat.Dark.ActionBar">

        <androidx.appcompat.widget.Toolbar
                android:id="@+id/toolbar"
                android:layout_width="match_parent"
                android:layout_height="?attr/actionBarSize"
                android:background="?attr/colorPrimary"
                app:layout_scrollFlags="scroll|enterAlways"
                app:popupTheme="@style/ThemeOverlay.AppCompat.Light"/>

        <com.google.android.material.tabs.TabLayout
                android:id="@+id/tabs"
                android:layout_width="match_parent"
                android:layout_height="wrap_content"/>
    </com.google.android.material.appbar.AppBarLayout>

    <androidx.viewpager2.widget.ViewPager2
            android:id="@+id/viewpager"
            app:layout_anchor="@id/tabs"
            app:layout_anchorGravity="bottom"
            android:layout_width="match_parent"
            android:layout_height="match_parent"
    />


</androidx.coordinatorlayout.widget.CoordinatorLayout>
活动
import androidx.appcompat.app.AppCompatActivity
import android.os.Bundle
import kotlinx.android.synthetic.main.activity_main.*
import com.google.android.material.tabs.TabLayoutMediator

import com.google.android.material.tabs.TabLayout


class MainActivity : AppCompatActivity() {

    override fun onCreate(savedInstanceState: Bundle?) {
        super.onCreate(savedInstanceState)
        setContentView(R.layout.activity_main)

//        setSupportActionBar(toolbar)
        viewpager.adapter = AppViewPagerAdapter(supportFragmentManager, lifecycle)

        TabLayoutMediator(tabs, viewpager, object : TabLayoutMediator.OnConfigureTabCallback {
            override fun onConfigureTab(tab: TabLayout.Tab, position: Int) {
                // Styling each tab here
                tab.text = "Tab $position"
            }
        }).attach()


    }
}
更新
如果您使用实现'com.google.android。材料:1.1.0-alpha10'然后使用下面的代码
        TabLayoutMediator(tabs, viewpage,
        TabLayoutMediator.TabConfigurationStrategy { tab, position ->
            when (position) {
                0 -> { tab.text = "TAB ONE"}
                1 -> { tab.text = "TAB TWO"}
            }
        }).attach()
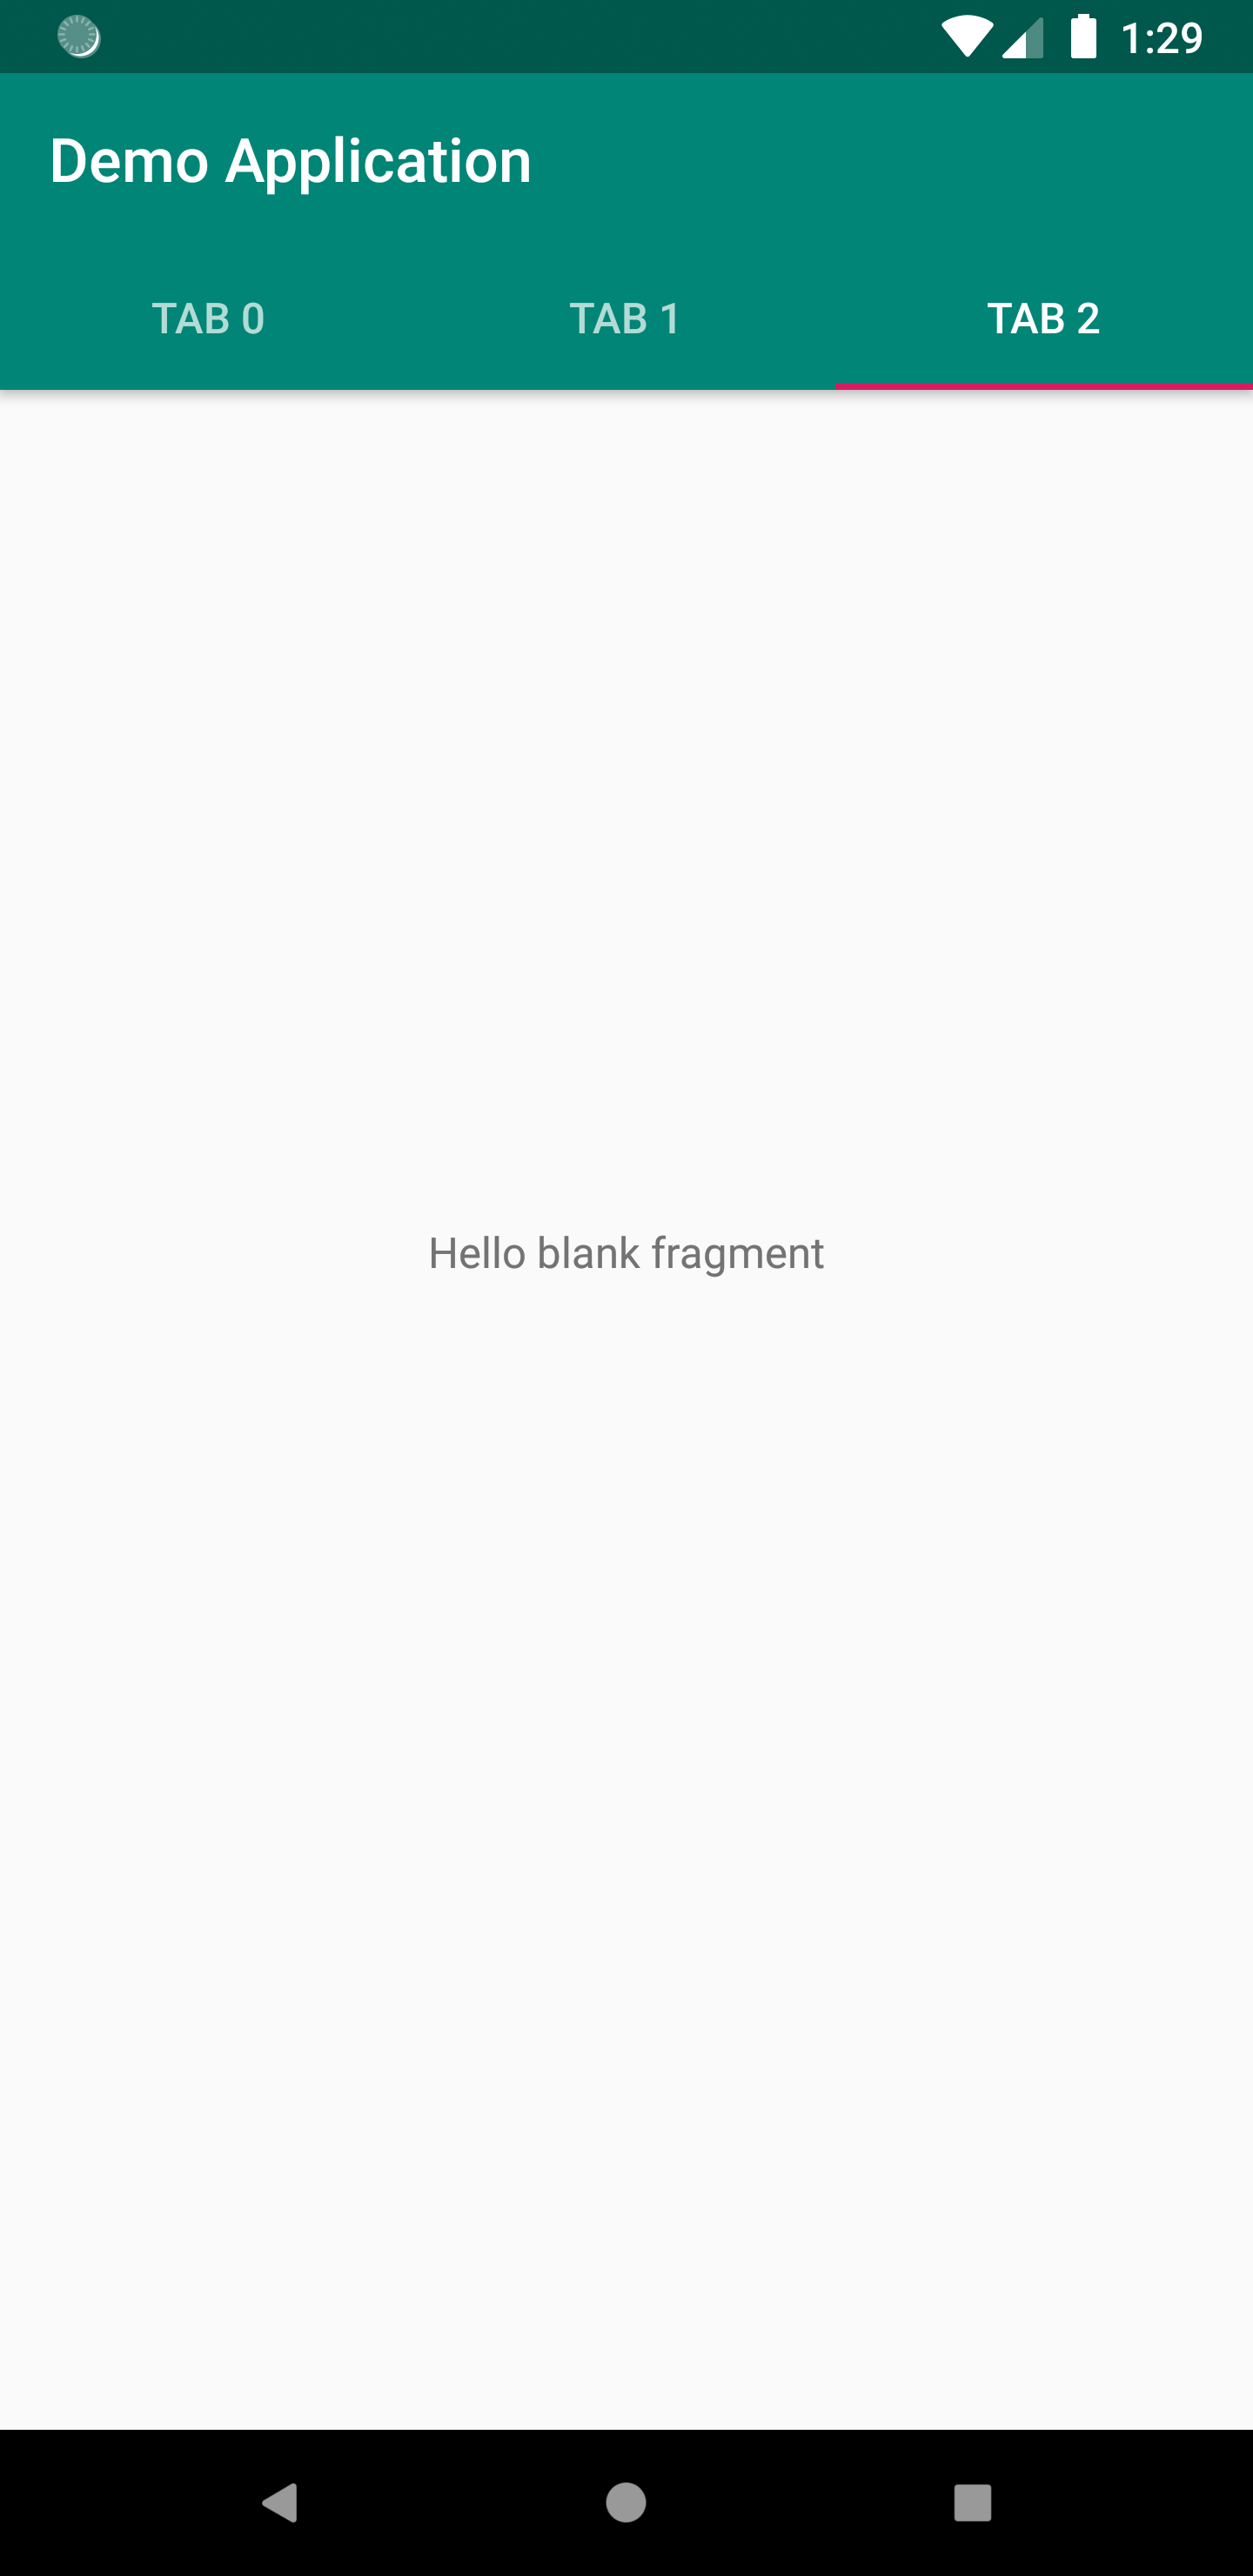
输出
