
网络可视化在科学实践中变得很普遍。但随着网络规模的不断扩大,普通的可视化变得越来越不有用。节点/顶点和链接/边太多。通常,可视化工作最终会产生“毛球”。
已经提出了一些新方法来克服这一问题,例如:
我相信还有更多的方法。因此,我的问题是:如何克服毛球问题,即如何通过使用R来可视化大型网络?
以下是一些模拟示例性网络的代码:
# Load packages
lapply(c("devtools", "sna", "intergraph", "igraph", "network"), install.packages)
library(devtools)
devtools::install_github(repo="ggally", username="ggobi")
lapply(c("sna", "intergraph", "GGally", "igraph", "network"),
       require, character.only=T)

# Set up data
set.seed(123)
g <- barabasi.game(1000)

# Plot data
g.plot <- ggnet(g, mode = "fruchtermanreingold")
g.plot

这个问题与可视化对于GraphViz?来说太大的无向图有关?。然而,我在这里搜索的不是一般的软件建议,而是具体的示例(使用上面提供的数据),这些技术有助于通过使用R(与本线程中的示例类似:R:具有过多点的散点图)实现大型网络的良好可视化。
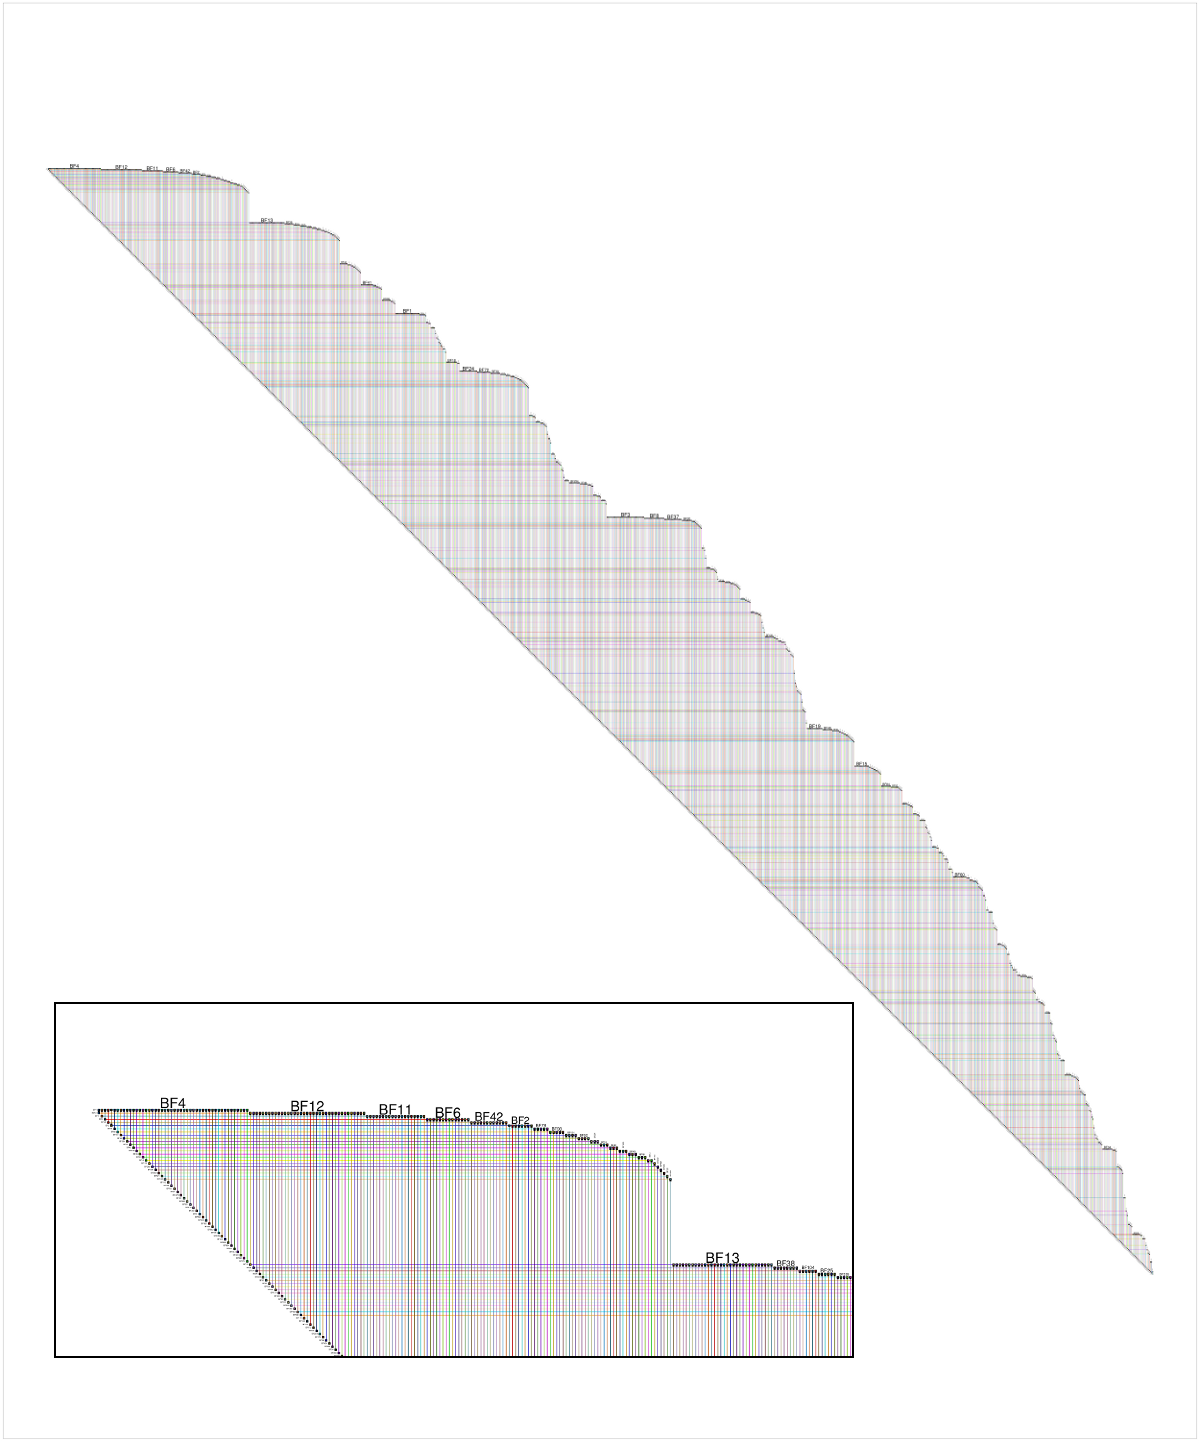
另一种可视化大型网络的方法是使用BioFabric(www.BioFabric.org),它使用水平线而不是点来表示节点。然后使用垂直线段显示边。此技术的快速D3演示如所示:http://www.biofabric.org/gallery/pages/SuperQuickBioFabric.html.
BioFabric是一个Java应用程序,但简单的R版本可在以下网站获得:https://github.com/wjrl/RBioFabric.
下面是一段R代码:
 # You need 'devtools':
 install.packages("devtools")
 library(devtools)

 # you need igraph:
 install.packages("igraph")
 library(igraph)

 # install and load 'RBioFabric' from GitHub
 install_github('RBioFabric',  username='wjrl')
 library(RBioFabric)

 #
 # This is the example provided in the question:
 #

 set.seed(123)
 bfGraph = barabasi.game(1000)

 # This example has 1000 nodes, just like the provided example, but it
 # adds 6 edges in each step, making for an interesting shape; play
 # around with different values.

 # bfGraph = barabasi.game(1000, m=6, directed=FALSE)

 # Plot it up! For best results, make the PDF in the same
 # aspect ratio as the network, though a little extra height
 # covers the top labels. Given the size of the network,
 # a PDF width of 100 gives us good resolution.

 height <- vcount(bfGraph)
 width <- ecount(bfGraph)
 aspect <- height / width;
 plotWidth <- 100.0
 plotHeight <- plotWidth * (aspect * 1.2)
 pdf("myBioFabricOutput.pdf", width=plotWidth, height=plotHeight)
 bioFabric(bfGraph)
 dev.off()
下面是提问者提供的数据的BioFabric版本的快照,尽管网络是用m值创建的

全面披露:BioFabric是我写的一个工具。
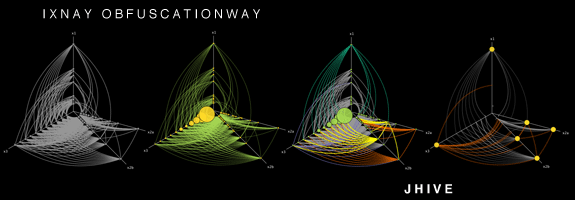
这是一个有趣的问题,我不知道你列出的大多数工具,所以谢谢。可以将HivePlot添加到列表中。这是一种确定性方法,包括在固定数量的轴(通常为2或3)上投影节点。看看链接的页面,有很多可视化的例子。

如果您的数据集中有一个分类节点属性,那么效果会更好,这样您就可以使用它来选择节点指向哪个轴。例如,在研究大学的社会网络时:学生在一个轴上,教师在另一个轴上,行政人员在第三个轴上。当然,它也可以处理离散化的数字属性(例如,年轻人、中年人和老年人在各自的轴上)。
然后您需要另一个属性,这次它必须是数字(或至少是序号)。它用于确定节点在其轴上的位置。您还可以使用一些拓扑度量,例如度或传递性(聚类系数)。

该方法是确定性的这一事实很有趣,因为它允许比较代表不同(但可比)系统的不同网络。例如,您可以比较两所大学(前提是您使用相同的属性/度量来确定轴和位置)。它还允许以各种方式描述相同的网络,通过选择属性/度量的不同组合来生成可视化。实际上,这是可视化网络的重新命令的方式,这要归功于所谓的蜂巢面板。
我在本文开头提到的页面中列出了几个能够生成这些蜂巢图的软件,包括Java和R语言的实现。
我最近一直在处理这个问题。因此,我想出了另一个解决方案。按社区/簇折叠图形。该方法类似于上面OP概述的第三个选项。作为警告,这种方法最适合无向图。例如:
library(igraph)

set.seed(123)
g <- barabasi.game(1000) %>%
  as.undirected()

#Choose your favorite algorithm to find communities.  The algorithm below is great for large networks but only works with undirected graphs
c_g <- fastgreedy.community(g)

#Collapse the graph by communities.  This insight is due to this post http://stackoverflow.com/questions/35000554/collapsing-graph-by-clusters-in-igraph/35000823#35000823

res_g <- simplify(contract(g, membership(c_g)))
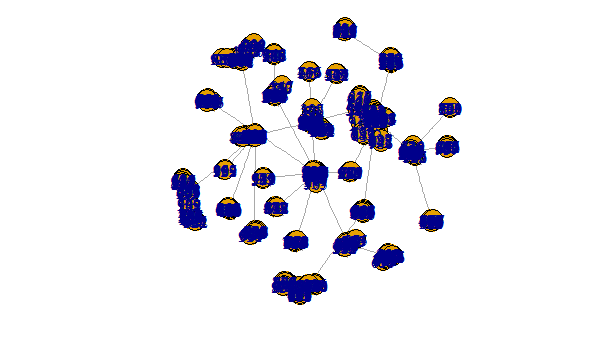
此过程的结果如下图所示,其中顶点的名称表示社区成员身份。
plot(g, margin = -.5)

上述情况显然比这可怕的混乱要好
plot(r_g, margin = -.5)

要将社区链接到原始顶点,需要类似于以下内容的内容
mem <- data.frame(vertices = 1:vcount(g), memeber = as.numeric(membership(c_g)))
在我看来,这是一个很好的方法,有两个原因。首先,理论上它可以处理任意大小的图。找到社区的过程可以在折叠图上不断重复。其次,采用交互式方法将产生非常可读的结果。例如,可以想象用户能够单击折叠图中的一个顶点来扩展该社区,从而显示其所有原始顶点。